The Christmas tree is the undisputed centerpiece of holiday décor, instantly transforming any home into a festive wonderland. While the tradition dates back centuries, mastering the art of decoration requires planning, technique, and a sprinkle of personal flair. Use this ultimate guide to ensure your tree shines brightest this season.
I. Preparation: Setting the Stage
Before unwrapping a single ornament, set yourself up for success:
1. Tree Selection: Choose a real or artificial tree that is sturdy and sized appropriately for your space. If using an artificial tree, allow ample time for the branches to fully *fluff out* before starting.
2. Safety First: Ensure you use a reliable stand, especially for real trees, and confirm all lights and electrical cords are certified, in good condition, and rated for indoor use.
3. Test the Lights: Save immense frustration later by always checking your light strands *before* wrapping them around the tree.
II. The Step-by-Step Decoration Process
### Step 1: The Lights (The Foundation)
Lights are the most crucial element, providing essential depth and warmth. Start wrapping them from the bottom, working your way up, weaving them deep into the branches (close to the trunk), not just around the tips. A good guideline is 100 lights per foot of tree height. Consider mixing light types (e.g., warm white and cool white) for added visual interest.
### Step 2: Garlands and Ribbons (The Flow)
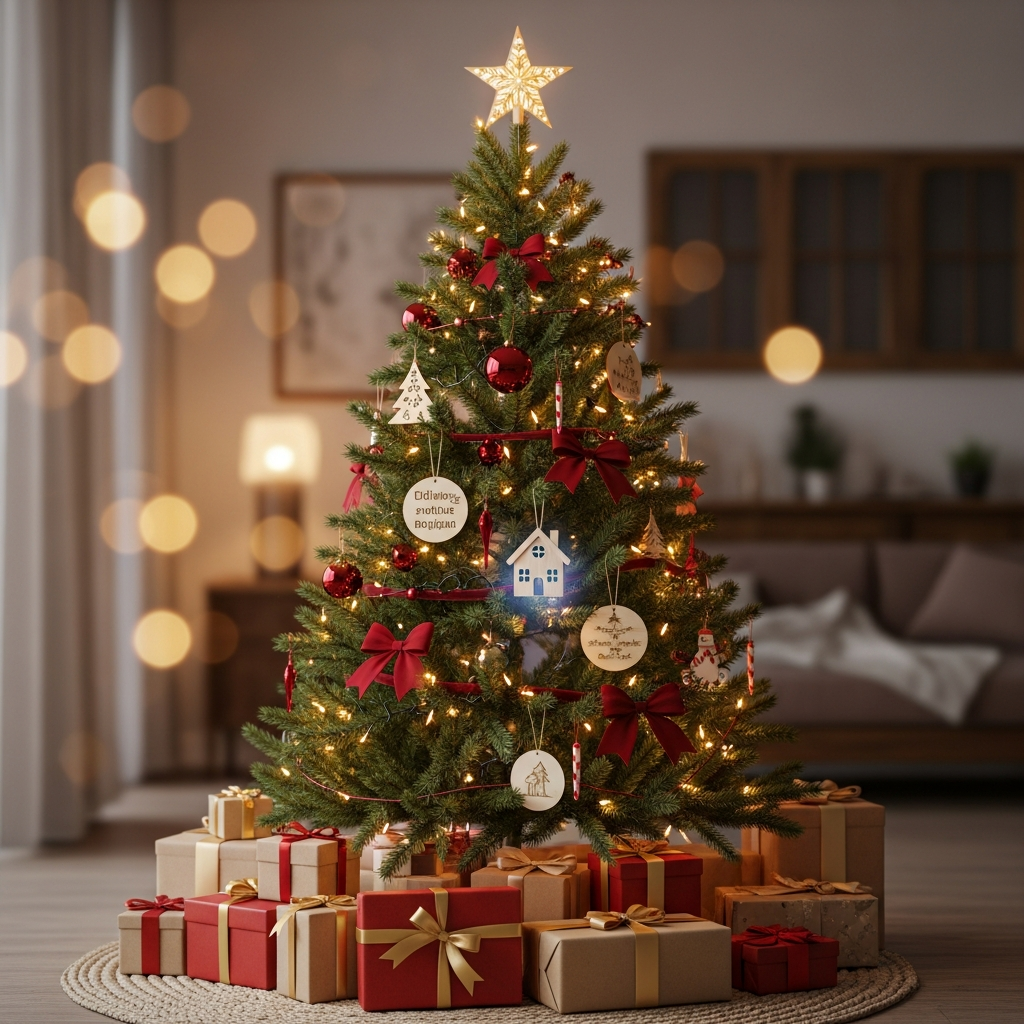
Garlands and ribbons add movement and texture. Use materials like beaded strands, tinsel, or wide fabric ribbons. Drape garlands loosely and evenly in a descending or spiraling motion. For ribbons, create elegant loops and bows, or use vertical ‘waterfall’ strands, tucking them deep into the inner branches to avoid a messy appearance.
### Step 3: Ornaments (The Personality)
Ornaments should be placed strategically using the ‘Rule of Three’ to maximize dimension:
- Deep Placement: Hang plain or filler ornaments close to the trunk. These reflect the lights and make the tree look fuller.
- Mid-Placement: Place medium-sized, moderately decorated ornaments throughout the middle layers of the branches.
- Tip Placement: Reserve your largest, most unique, or personalized ornaments for the tips of the branches, where they can be best appreciated.
Tip: Avoid bunching ornaments; spread them evenly across the tree’s entire surface.
### Step 4: The Tree Topper (The Crown)
Secure the topper firmly so it stands straight and tall. It should match the tree’s overall theme and scale. Traditional choices include angels or stars, but modern alternatives include large designer bows, oversized snowflakes, or unique found objects.
III. Choosing Your Theme
Selecting a theme guides your color choices and ornament selection:
- Traditional: Classic reds, greens, and golds; uses sentimental ornaments, plaid ribbons, and warm white lights.
- Rustic/Farmhouse: Neutral tones (creams, browns), natural elements (pinecones, burlap, wood accents), and galvanized metal ornaments.
- Modern/Minimalist: Limited color palette (often silver and blue, or black and white), geometric shapes, and clean lines. Focus on negative space.
- Whimsical/Candy: Bright, saturated colors (pinks, teal, lime green), glittery elements, and novelty ornaments like gingerbread men.
IV. Pro Tips for a Perfect Tree
1. Incorporate Fillers: Use floral picks, berries, or small branches (artificial or natural) stuck into the gaps to instantly add volume and texture.
2. Color Blocking: For a high-end designer look, try grouping specific colors together in defined sections of the tree.
3. Light Timer: Invest in a light timer so your tree glows reliably every evening without manual effort.